はじめに
ヒストグラムの逆投影法を用いると画像の中から特定のオブジェクトを探して抽出することができます。
この記事ではカレーライスの画像からカレーとライスの範囲を抽出するサンプルを通してヒストグラムの逆投影法を試します。
OpenCV-Python Tutorialsの下記記事を参考にしています。
前提条件
macOS BigSur 11.1
Python 3.9.0
numpy 1.19.5
opencv-python 4.5.1.48

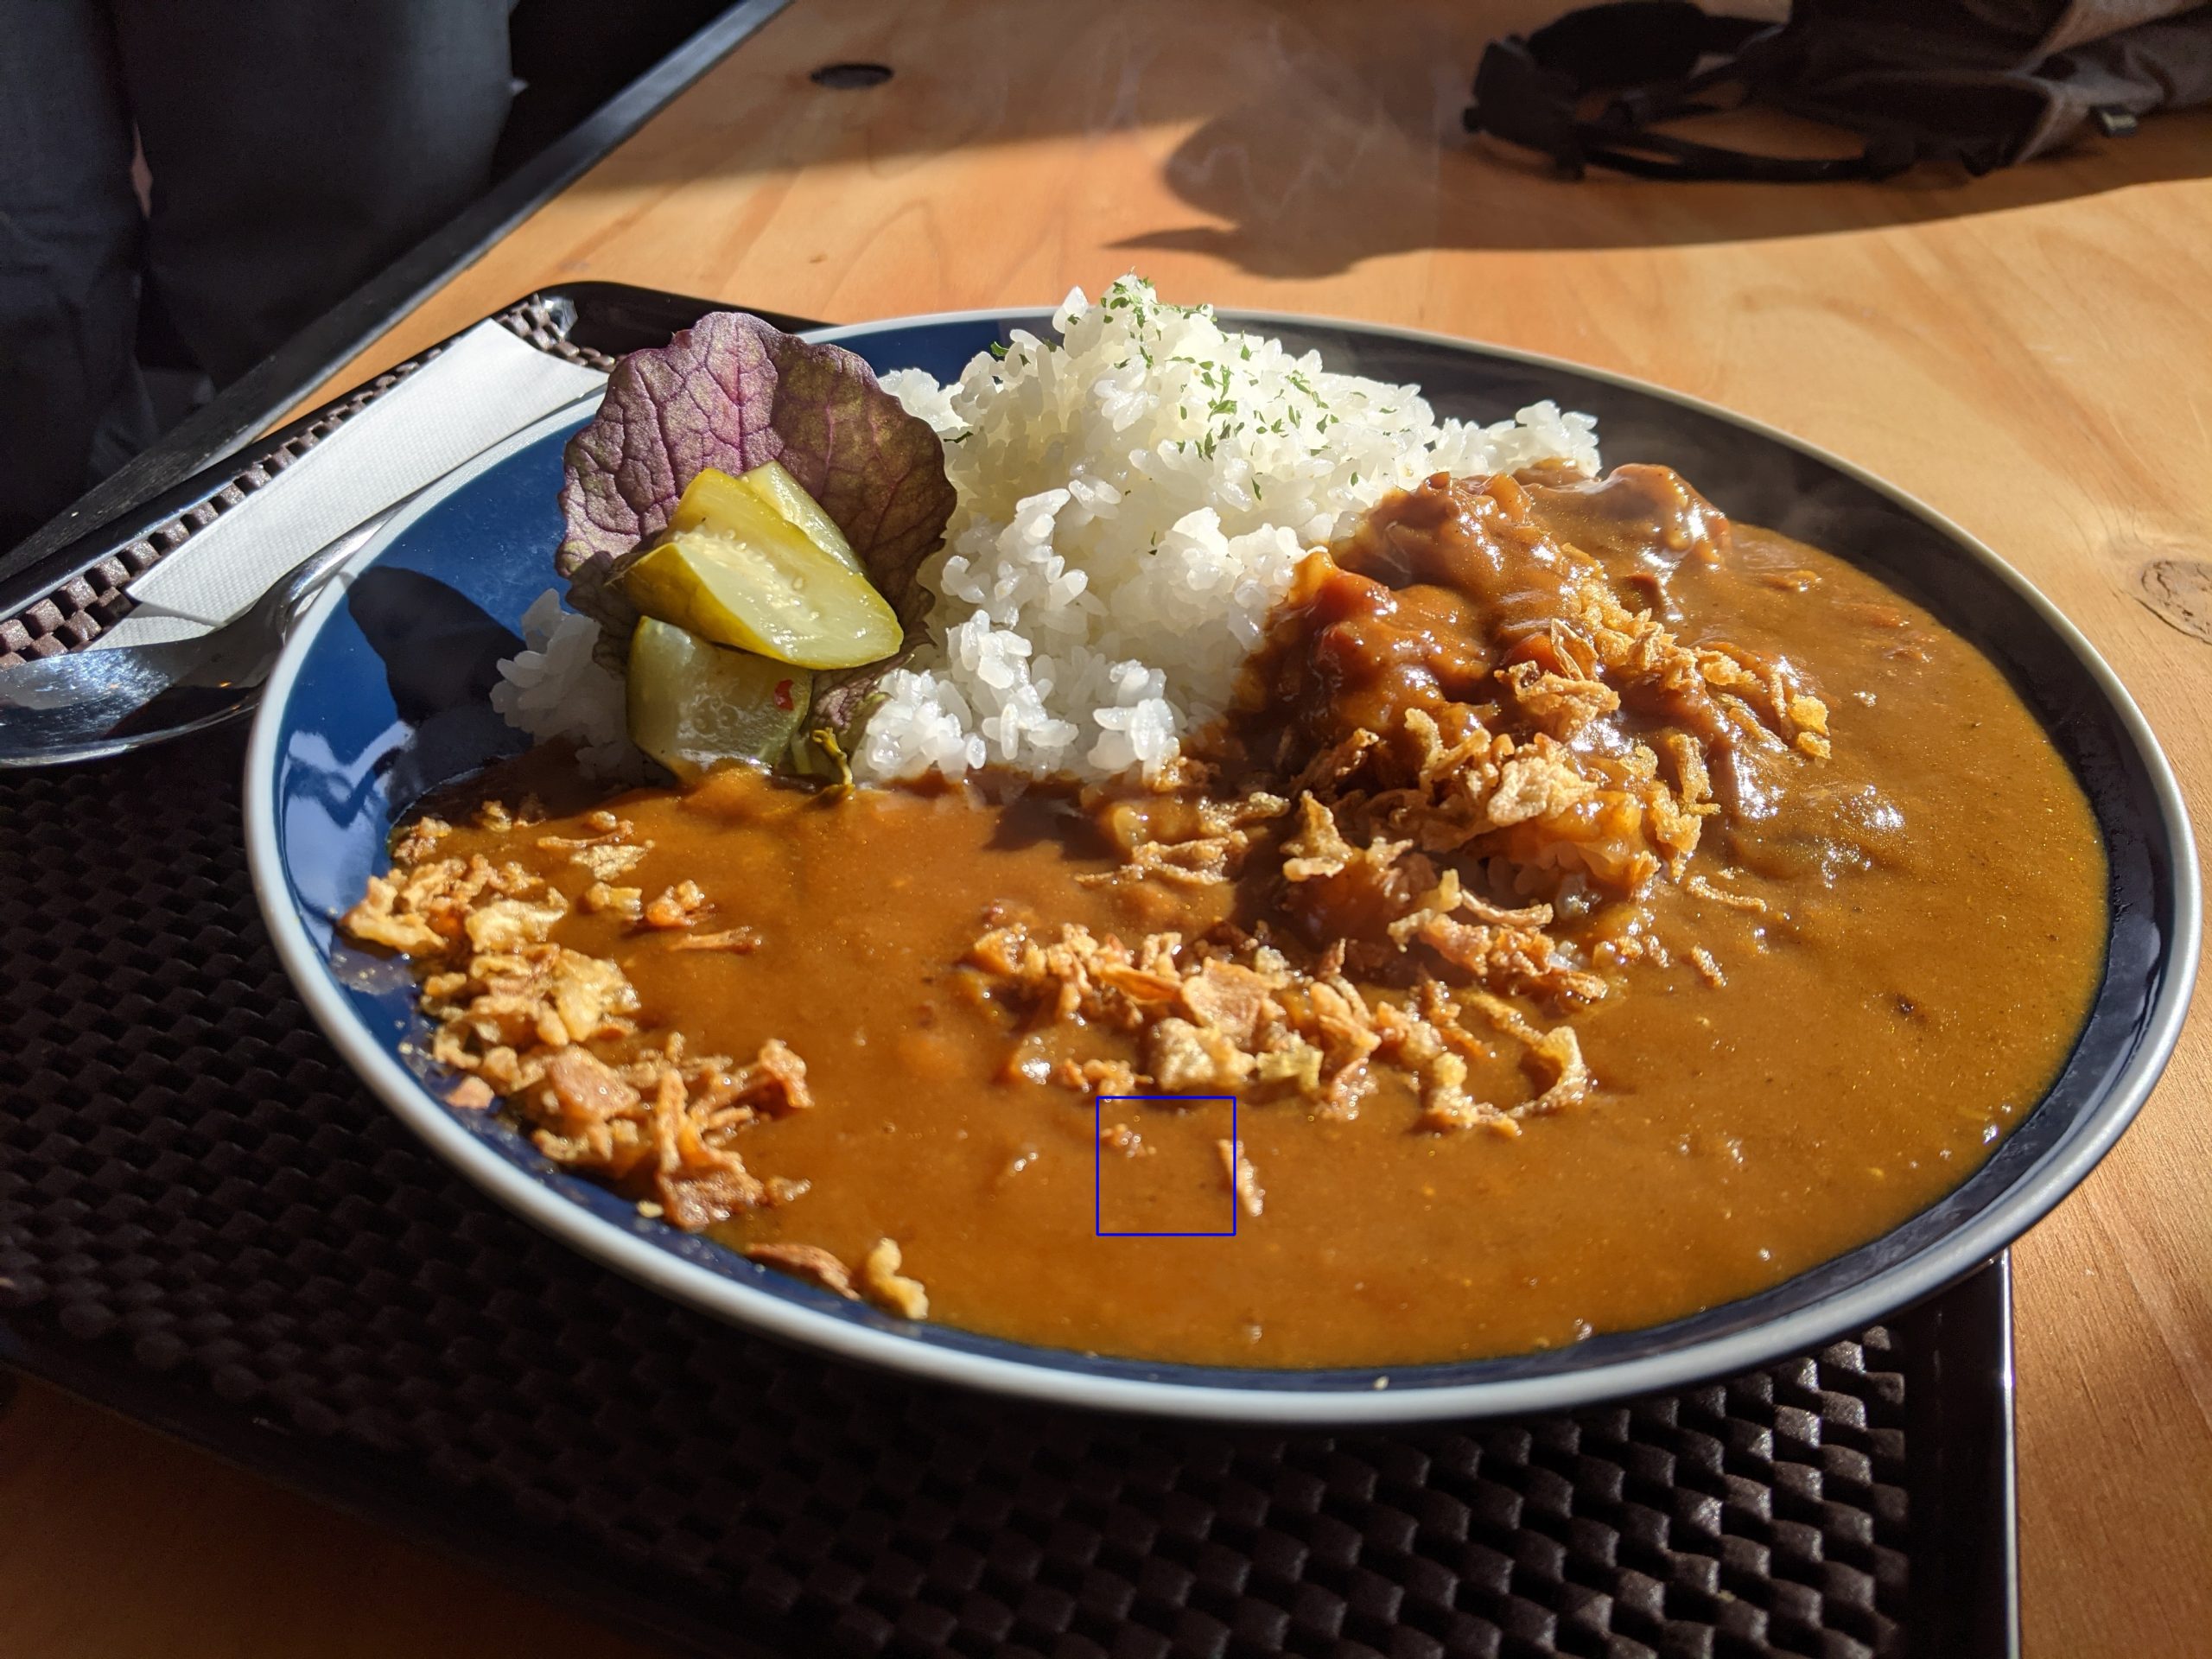
curry.jpg
これが今回用いるカレーライスの画像です。
この画像からカレーとライスの部分をそれぞれ抽出します
サンプルコードはカレーを抽出する処理ですが、ライスも同様に抽出できます。
手順
1. カレーライス画像読み込み
2. カレーのオブジェクトを範囲指定
3. カラーヒストグラムの計算
4. ヒストグラムを正規化し逆投影を適用
5.モルフォロジー変換
6.しきい値とマスク処理
1. カレーライス画像読み込み
まずは対象の画像(カレーライス)を読み込みます。
import cv2
import numpy as np
import matplotlib.pyplot as plt

img = cv2.imread('curry.jpg')
cv2.imshow("image", img)
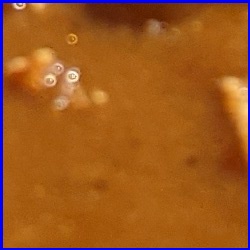
2. カレーのオブジェクトを範囲指定
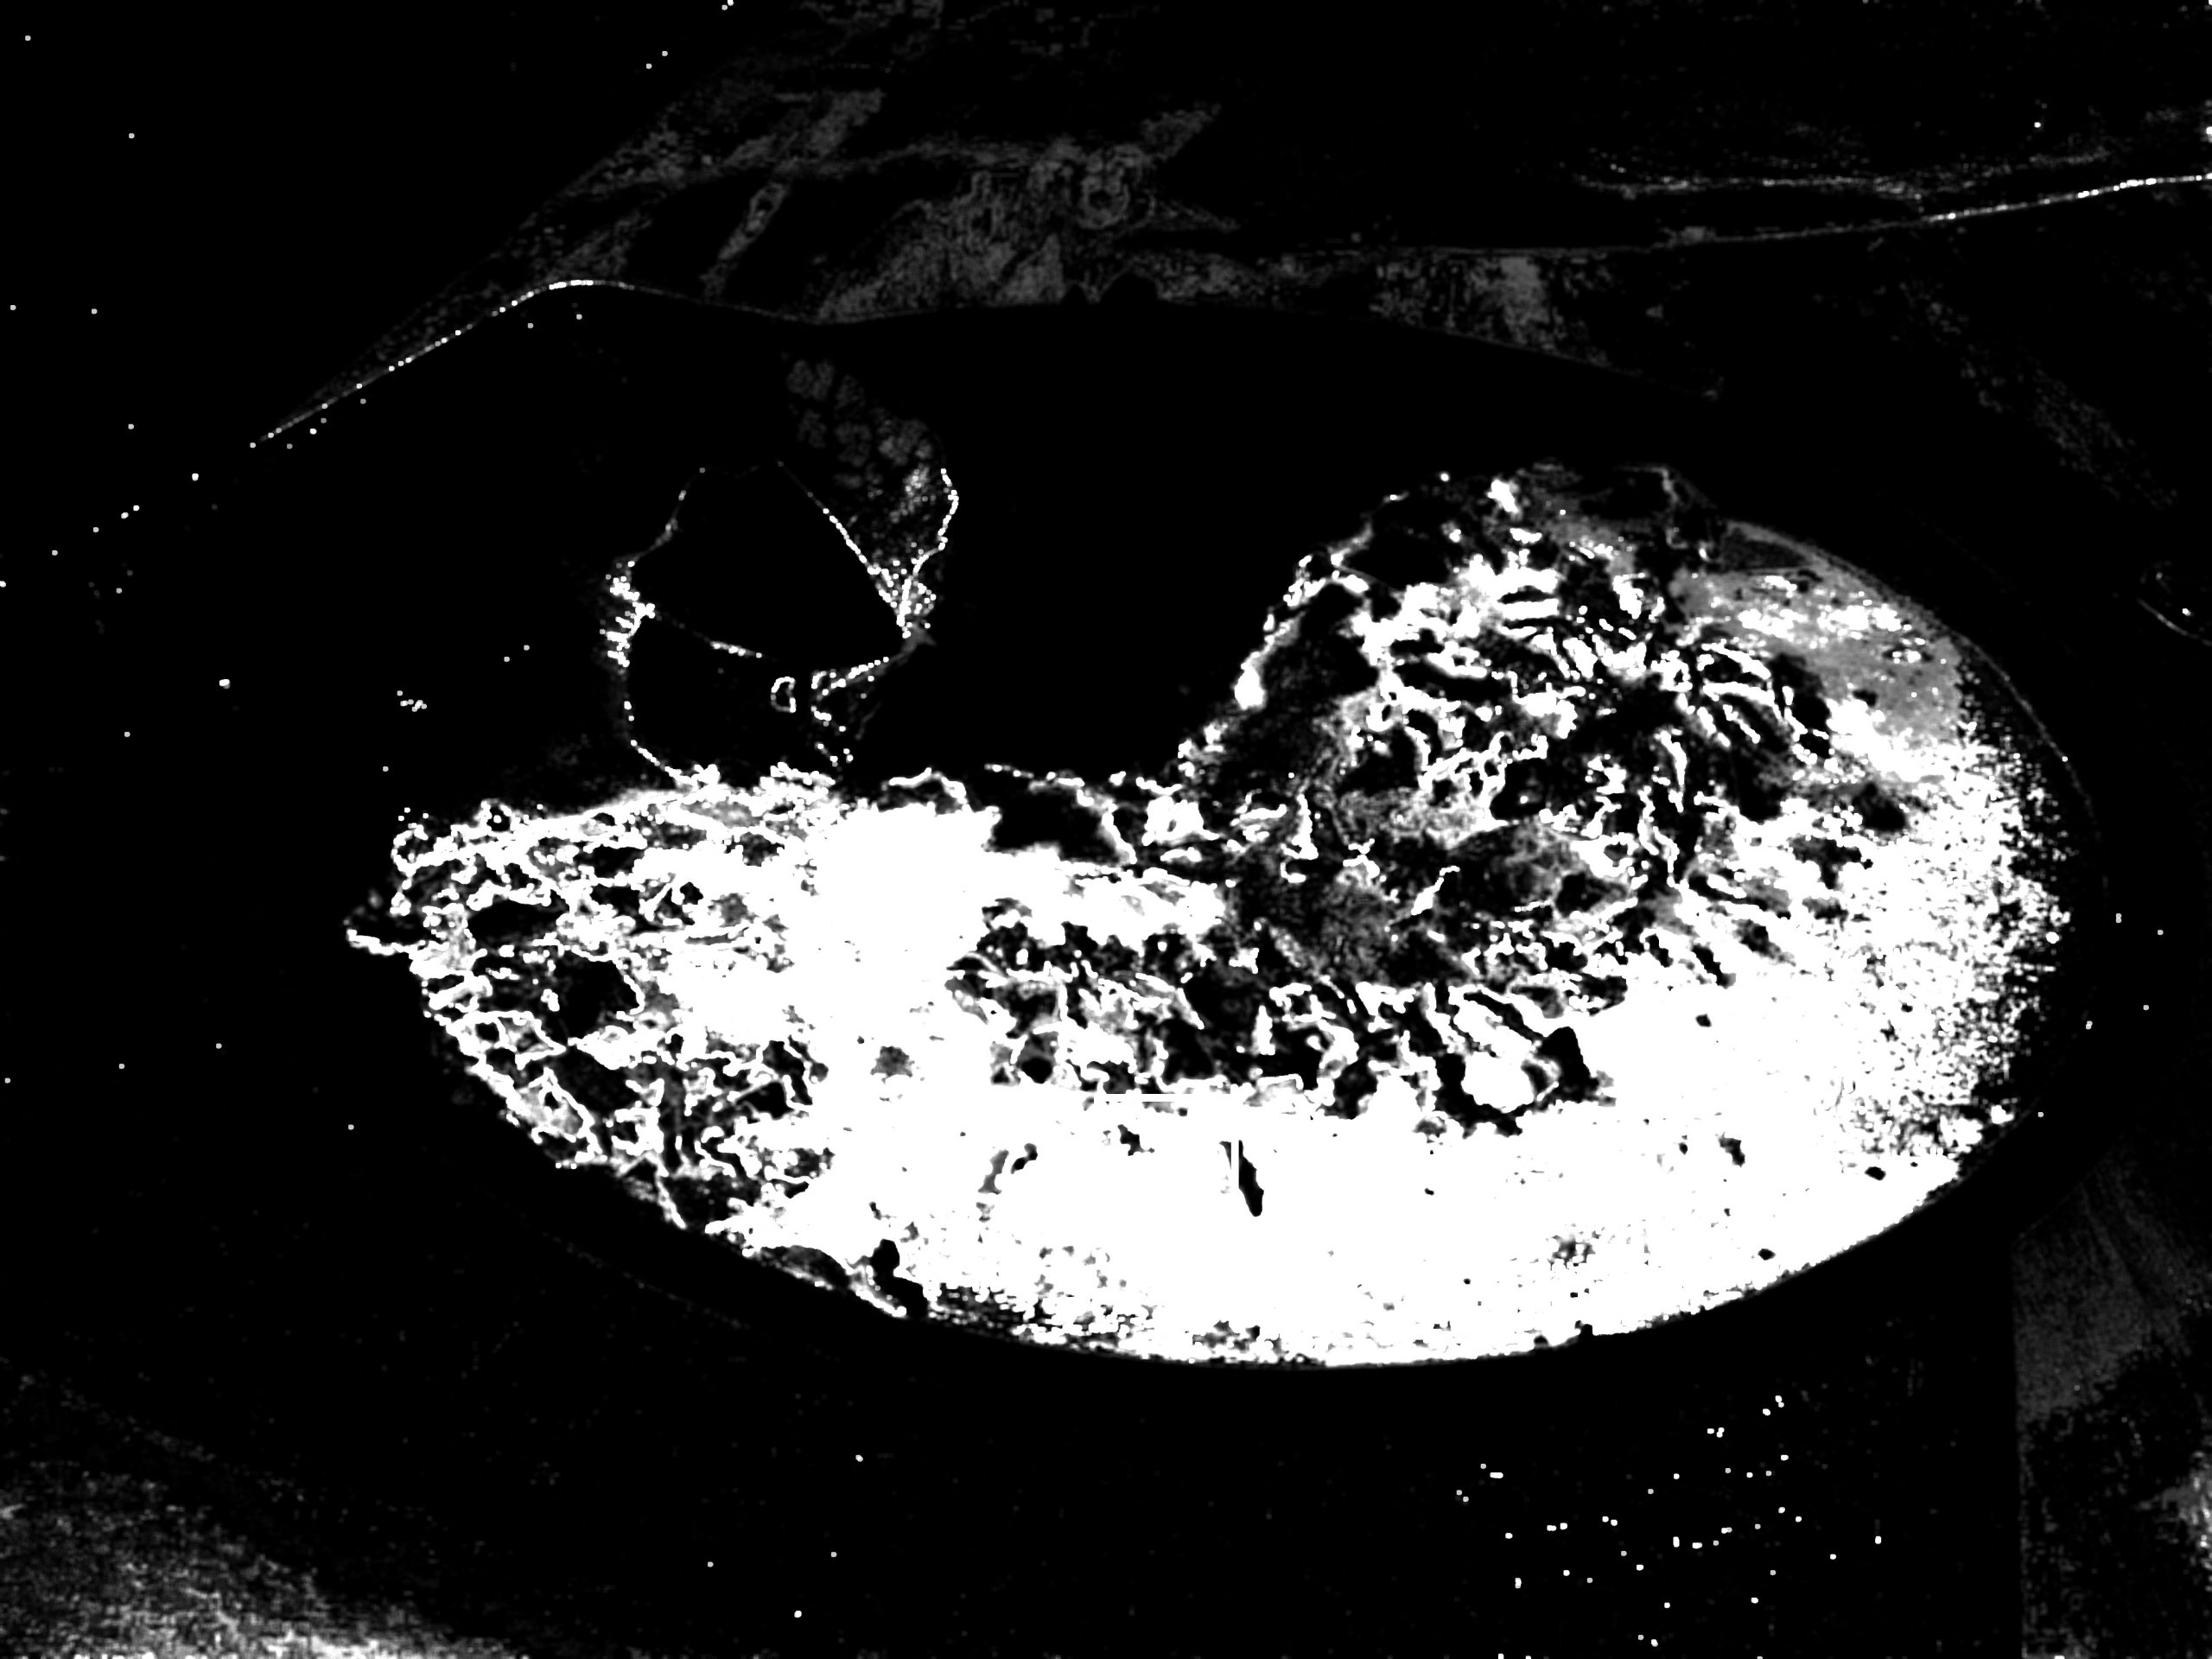
カレーライスのうちカレーの範囲を選択します。
# curry axios
cx = 2000
cy = 2000
cw = 250
cv2.rectangle(img, (cx, cy), (cx + cw, cy + cw), (255, 0, 0),thickness=3)
curry_asset = img[cy:cy + cw, cx:cx + cw]
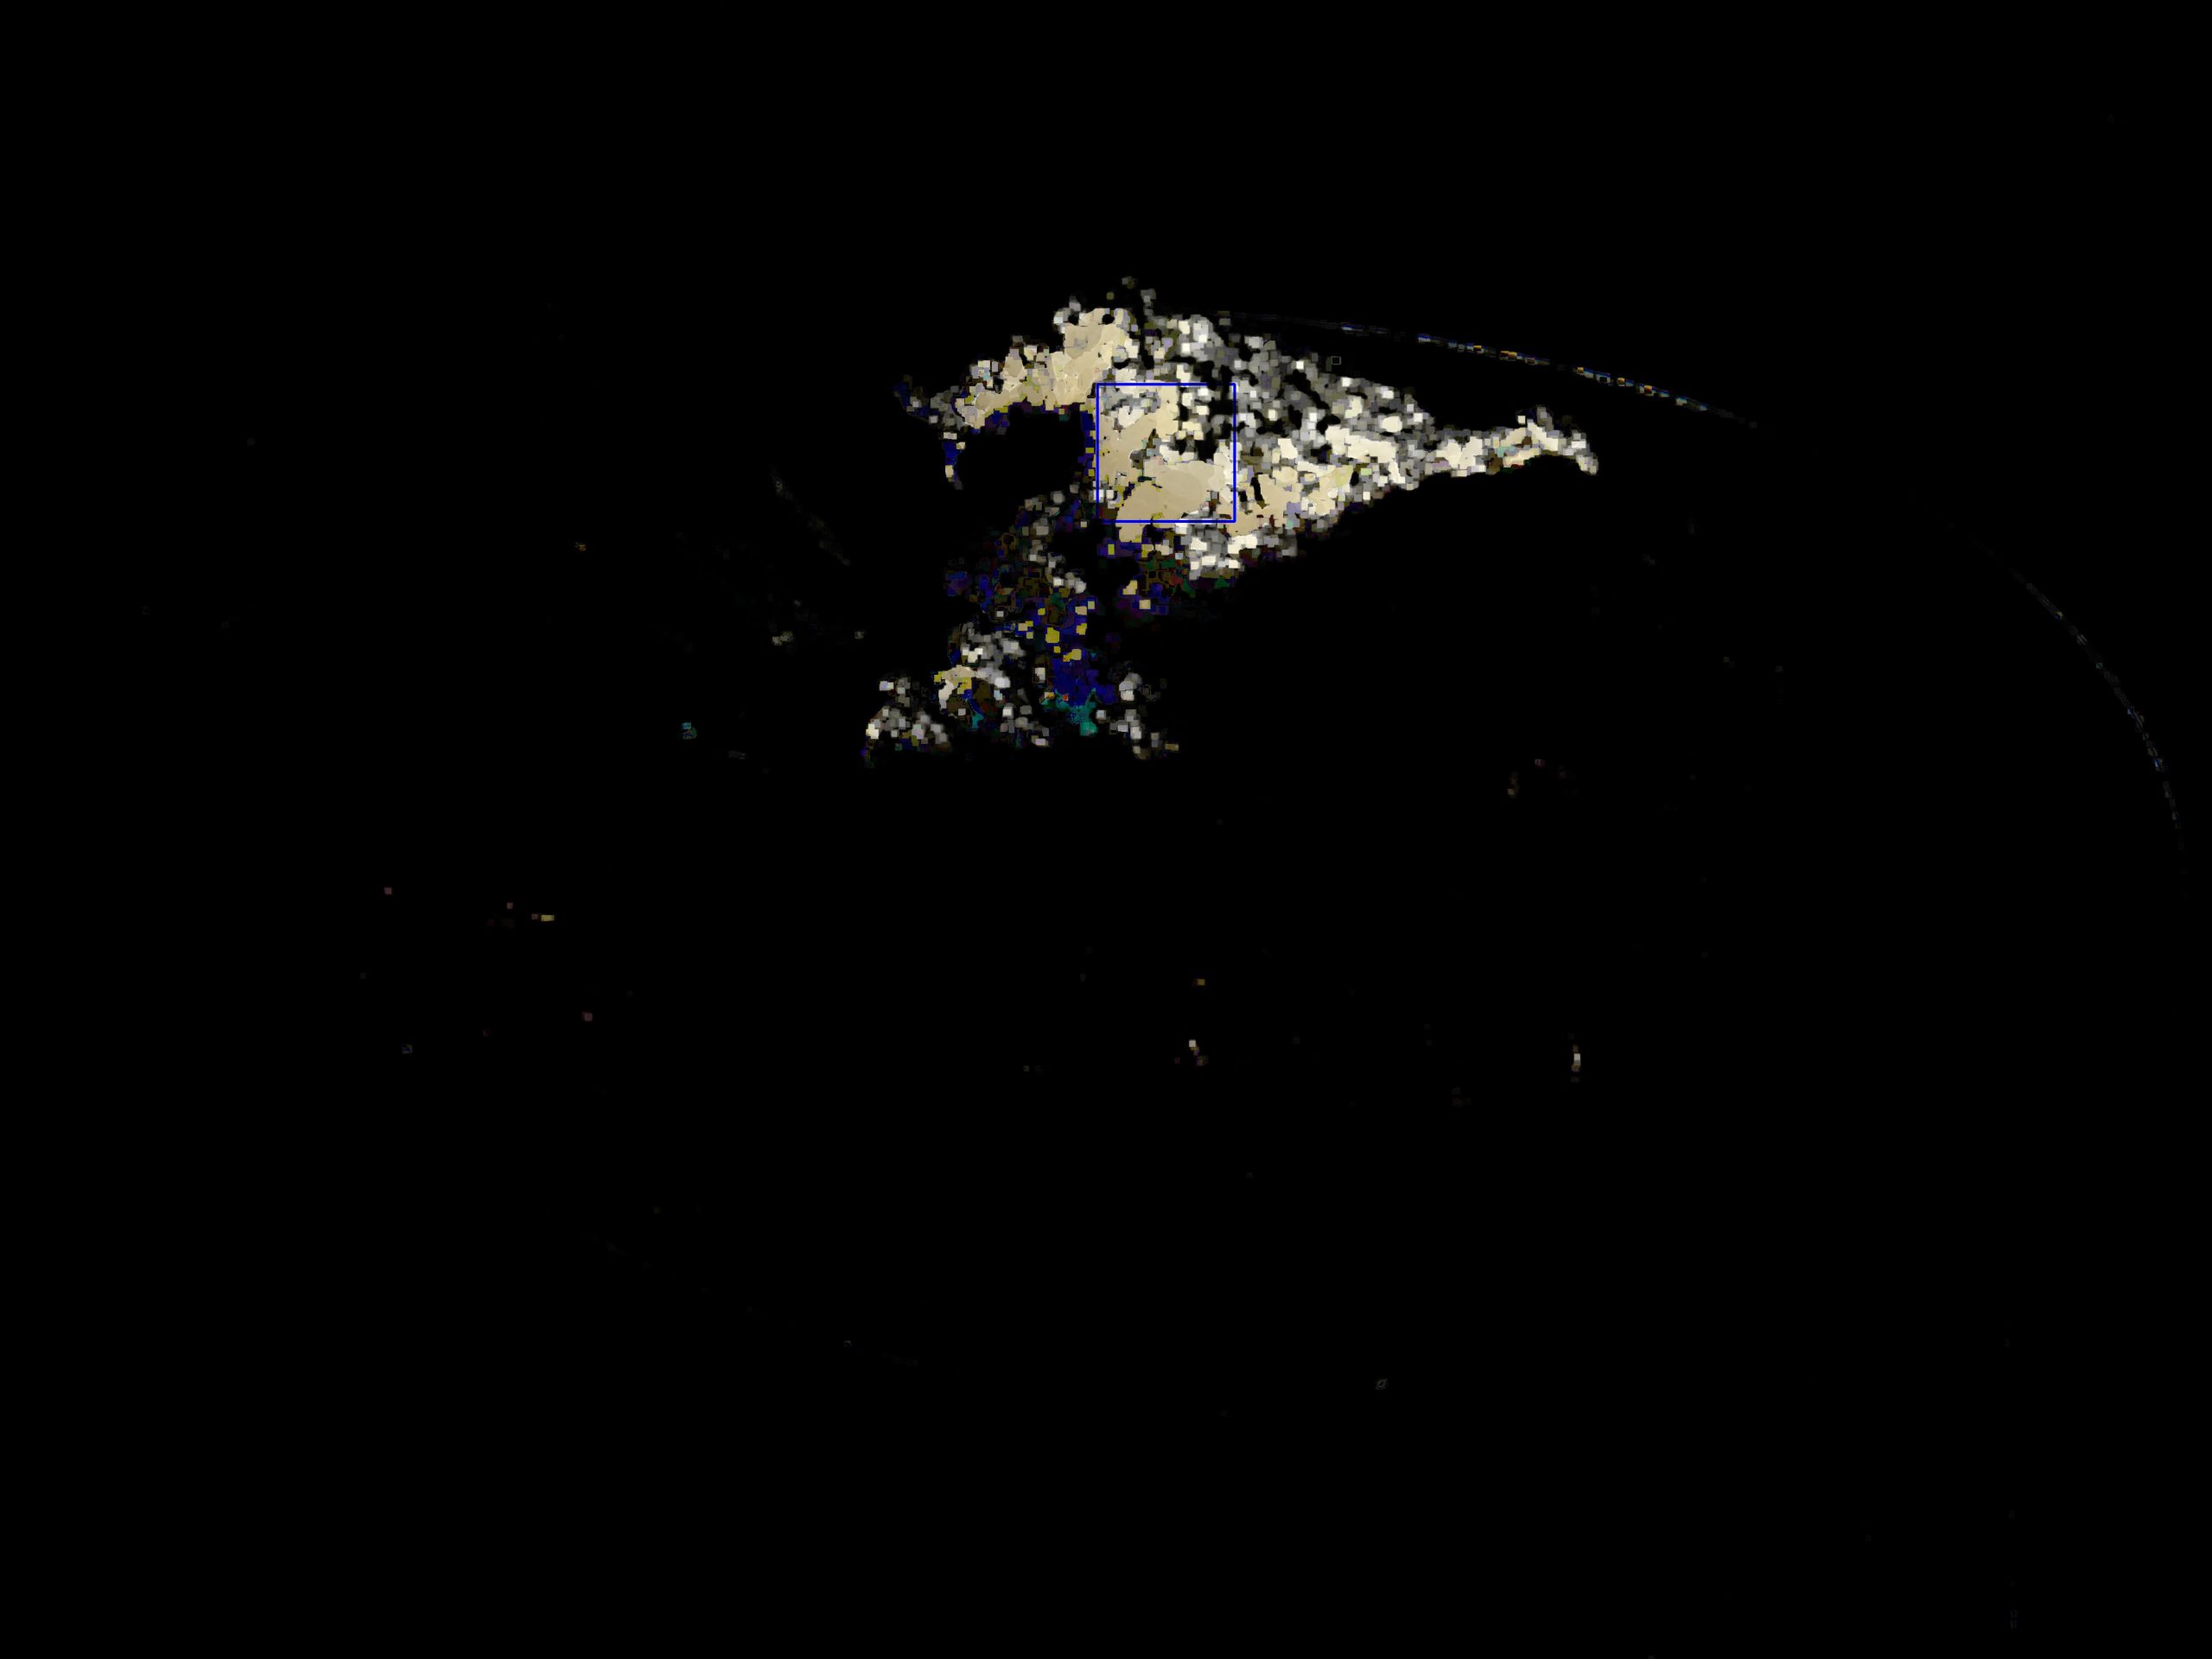
cv2.imshow("2-1", img)
cv2.imshow("2-2.jpg", curry_asset)
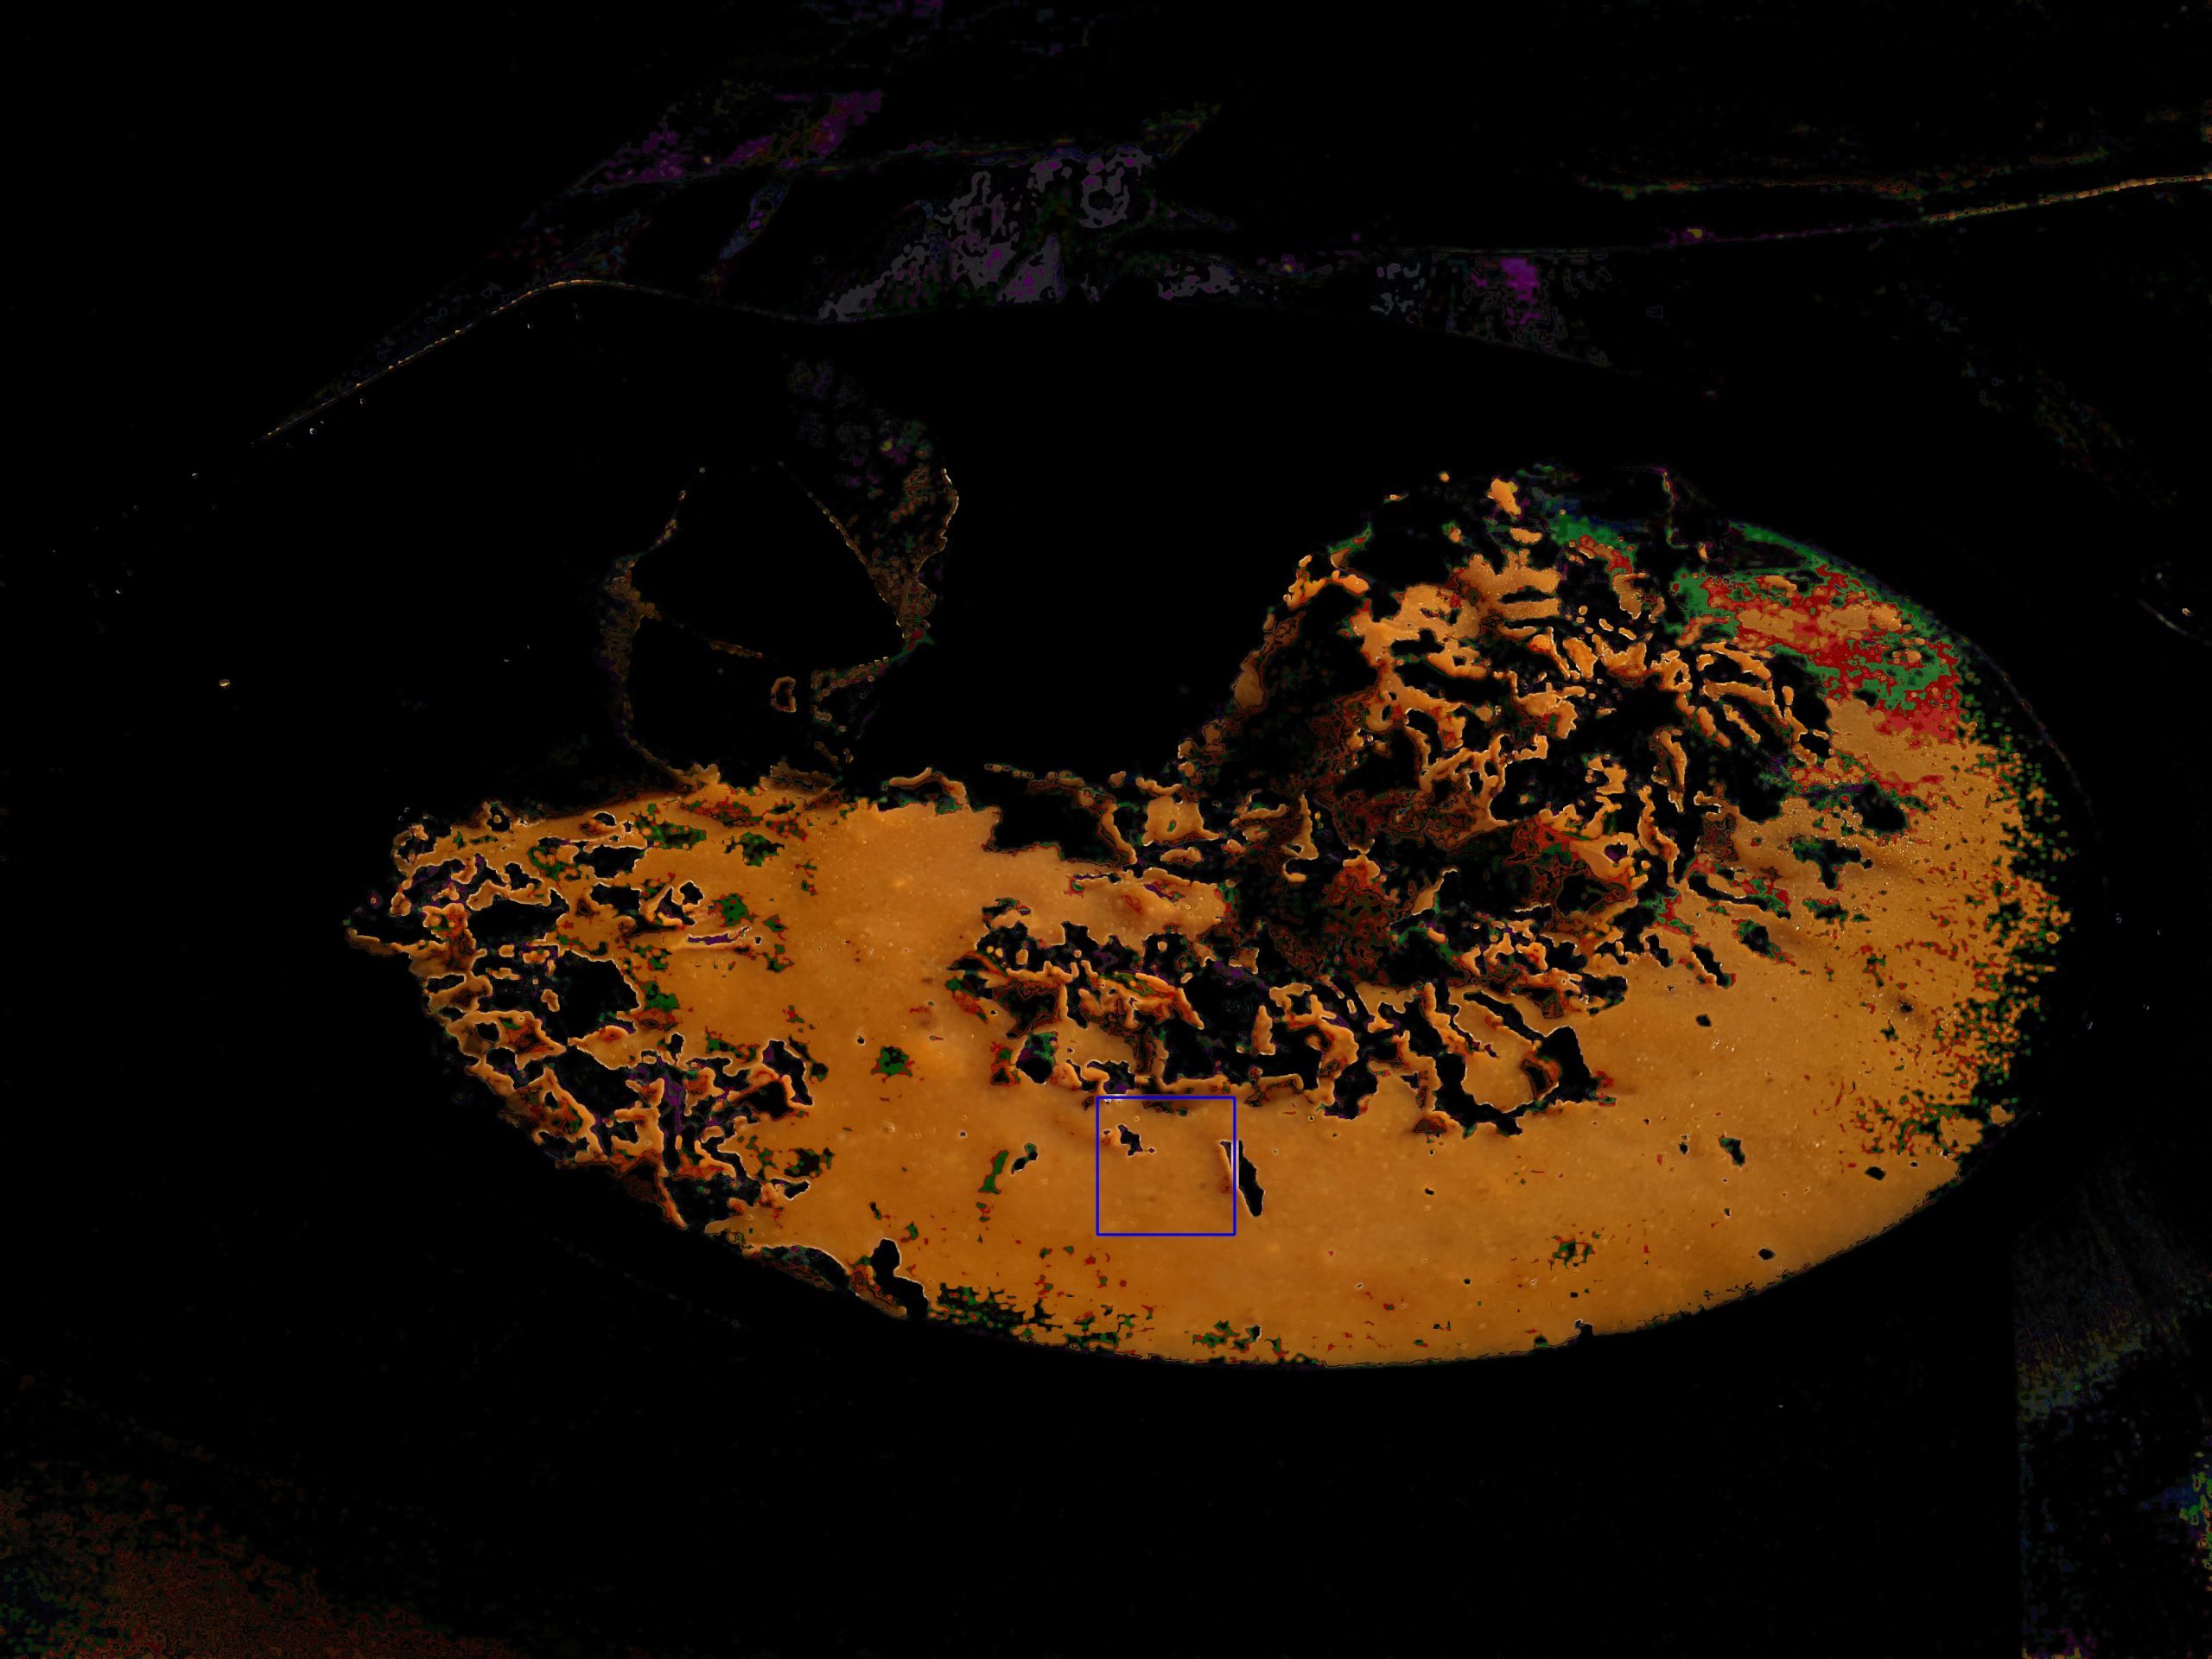
3. カラーヒストグラムの計算
検索対象(カレーライス)と検索したいオブジェクト(カレー) の両方のカラーヒストグラムを計算します。
hsv = cv2.cvtColor(curry_asset,cv2.COLOR_BGR2HSV)
hsvt = cv2.cvtColor(img,cv2.COLOR_BGR2HSV)
# calculating object histogram
roihist = cv2.calcHist([hsv],[0, 1], None, [180, 256], [0, 180, 0, 256] )
cv2.imshow("3-1", hsv)
cv2.imshow("3-2", hsvt)
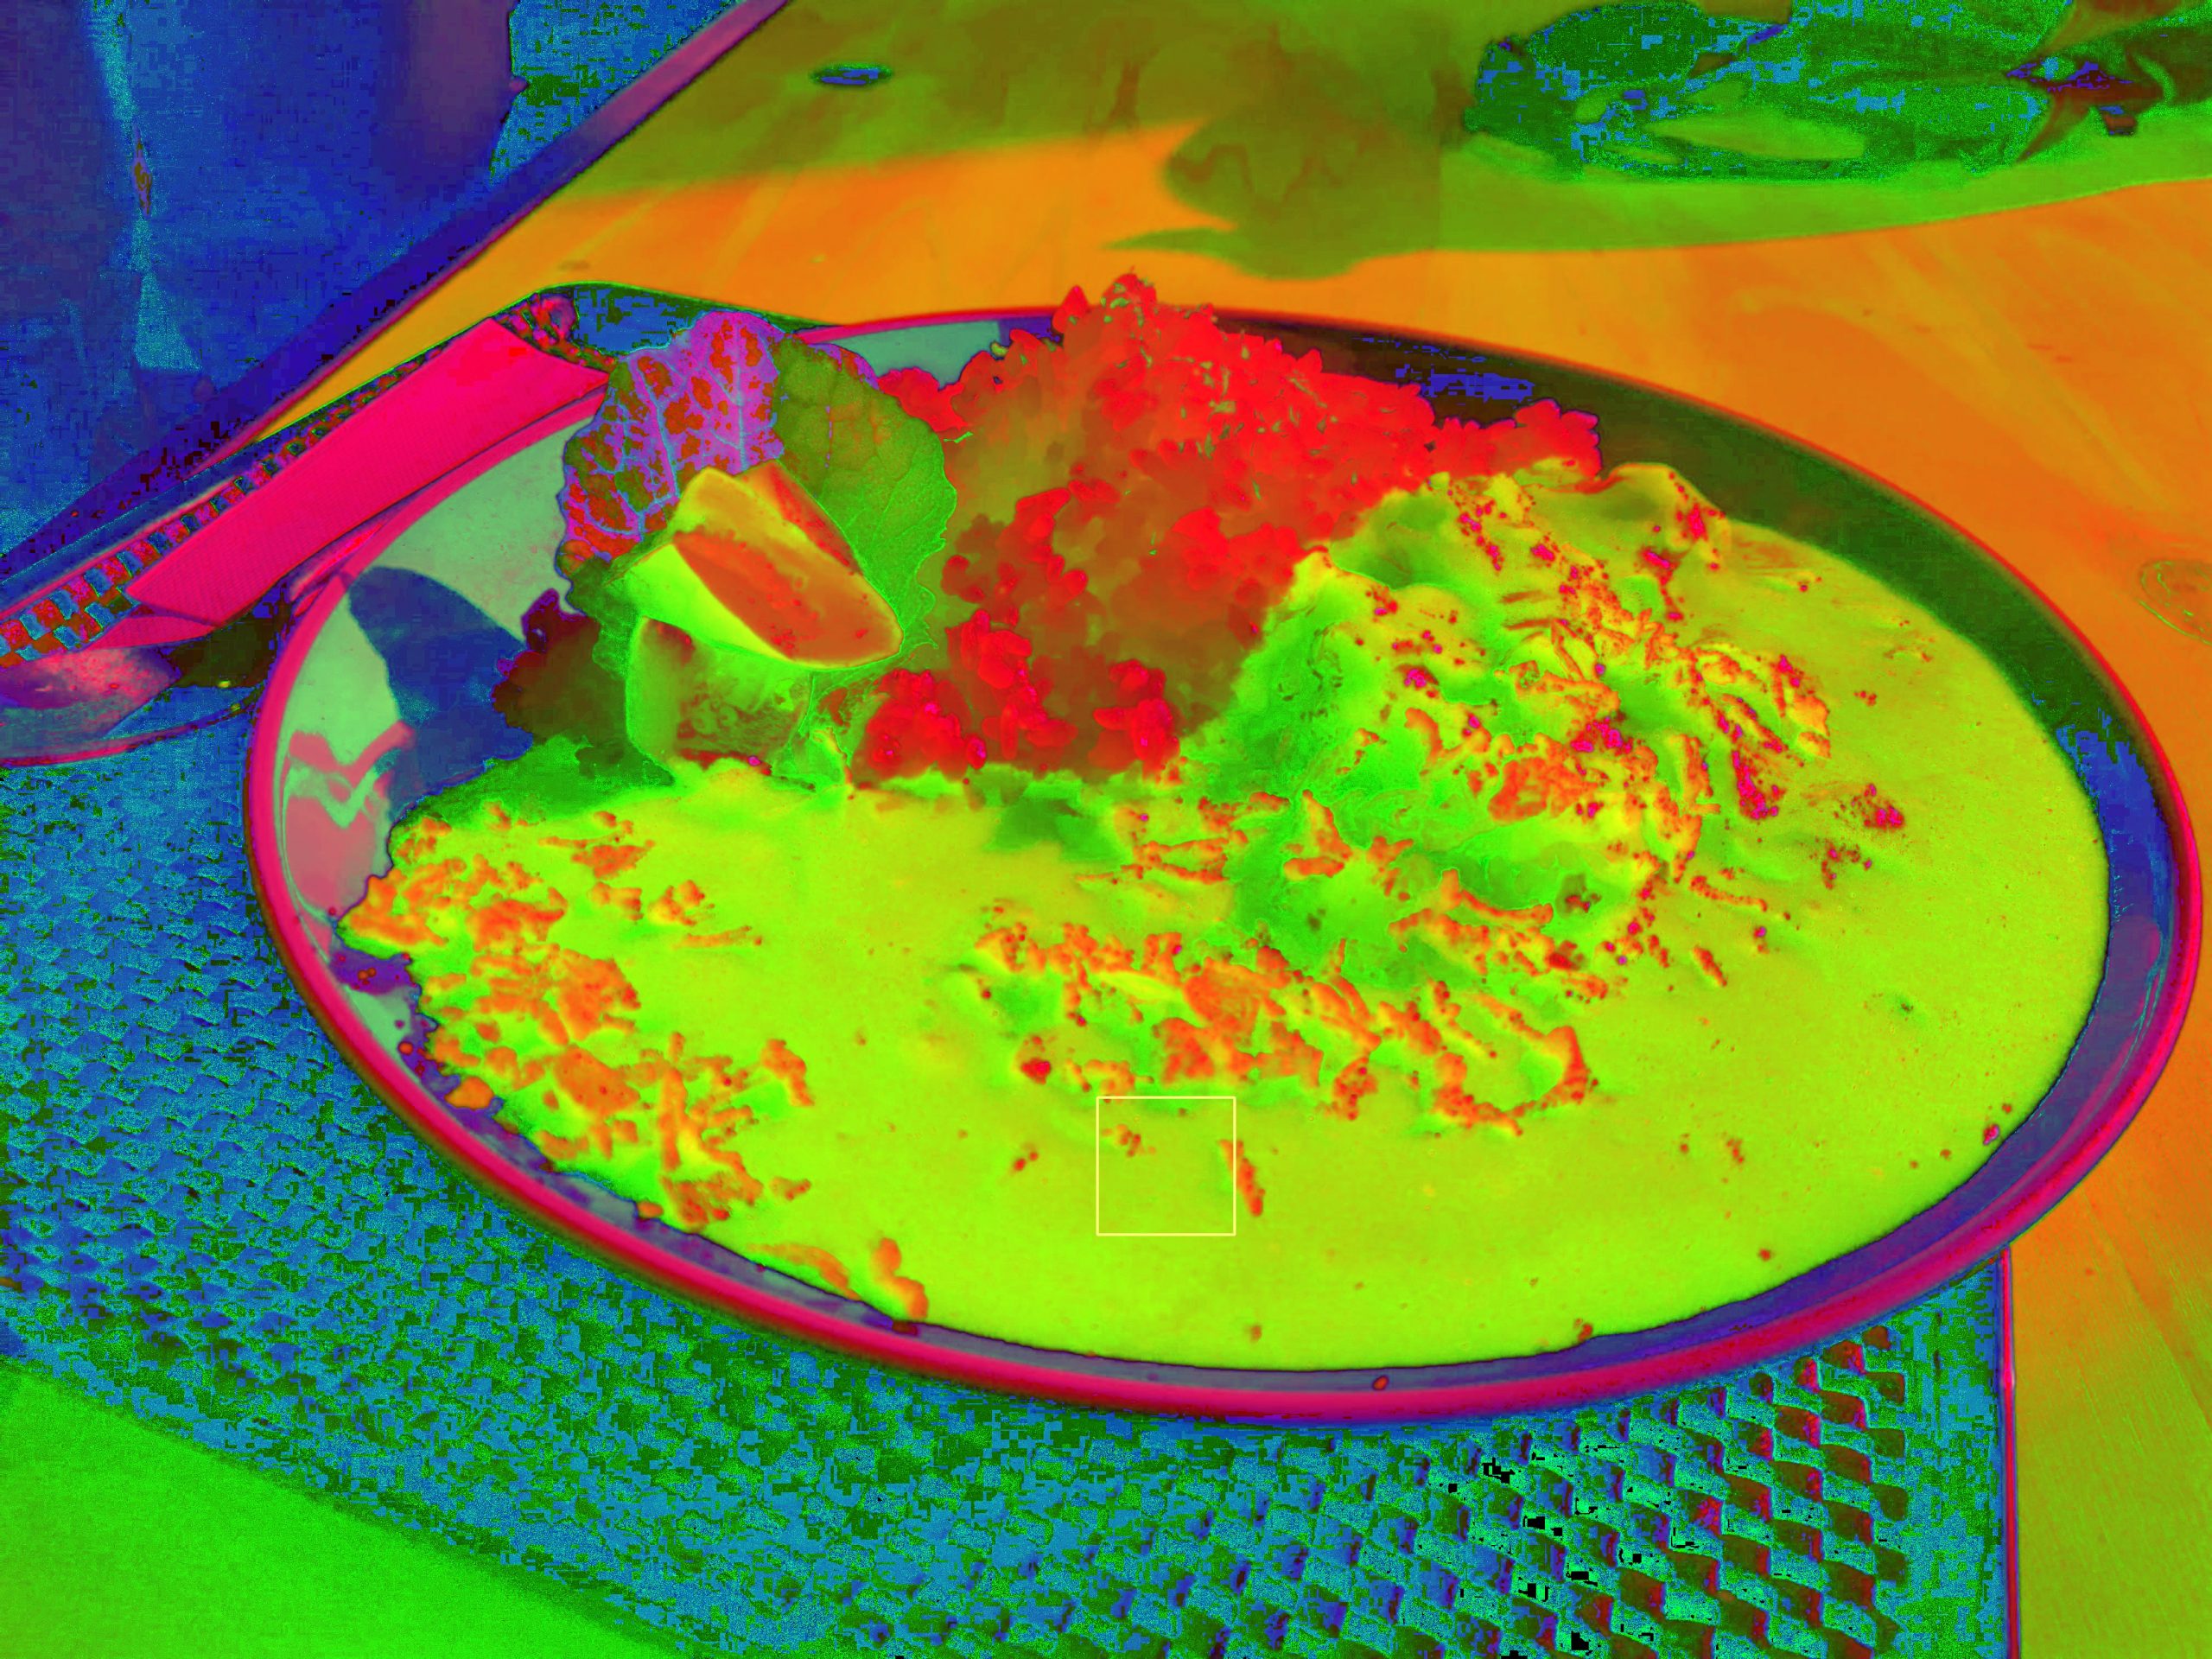
4. ヒストグラムを正規化し逆投影を適用
# normalize histogram and apply backprojection
cv2.normalize(roihist,roihist,0,255,cv2.NORM_MINMAX)
dst = cv2.calcBackProject([hsvt],[0,1],roihist,[0,180,0,256],1)
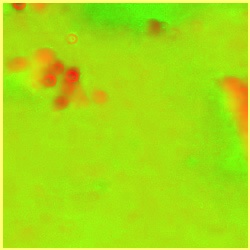
cv2.imshow("4", dst)
5.モルフォロジー変換
正方形のカーネルを作成しモルフォロジー演算処理
# Now convolute with circular disc
disc = cv2.getStructuringElement(cv2.MORPH_ELLIPSE,(10,10))
cv2.filter2D(dst,-1,disc,dst)
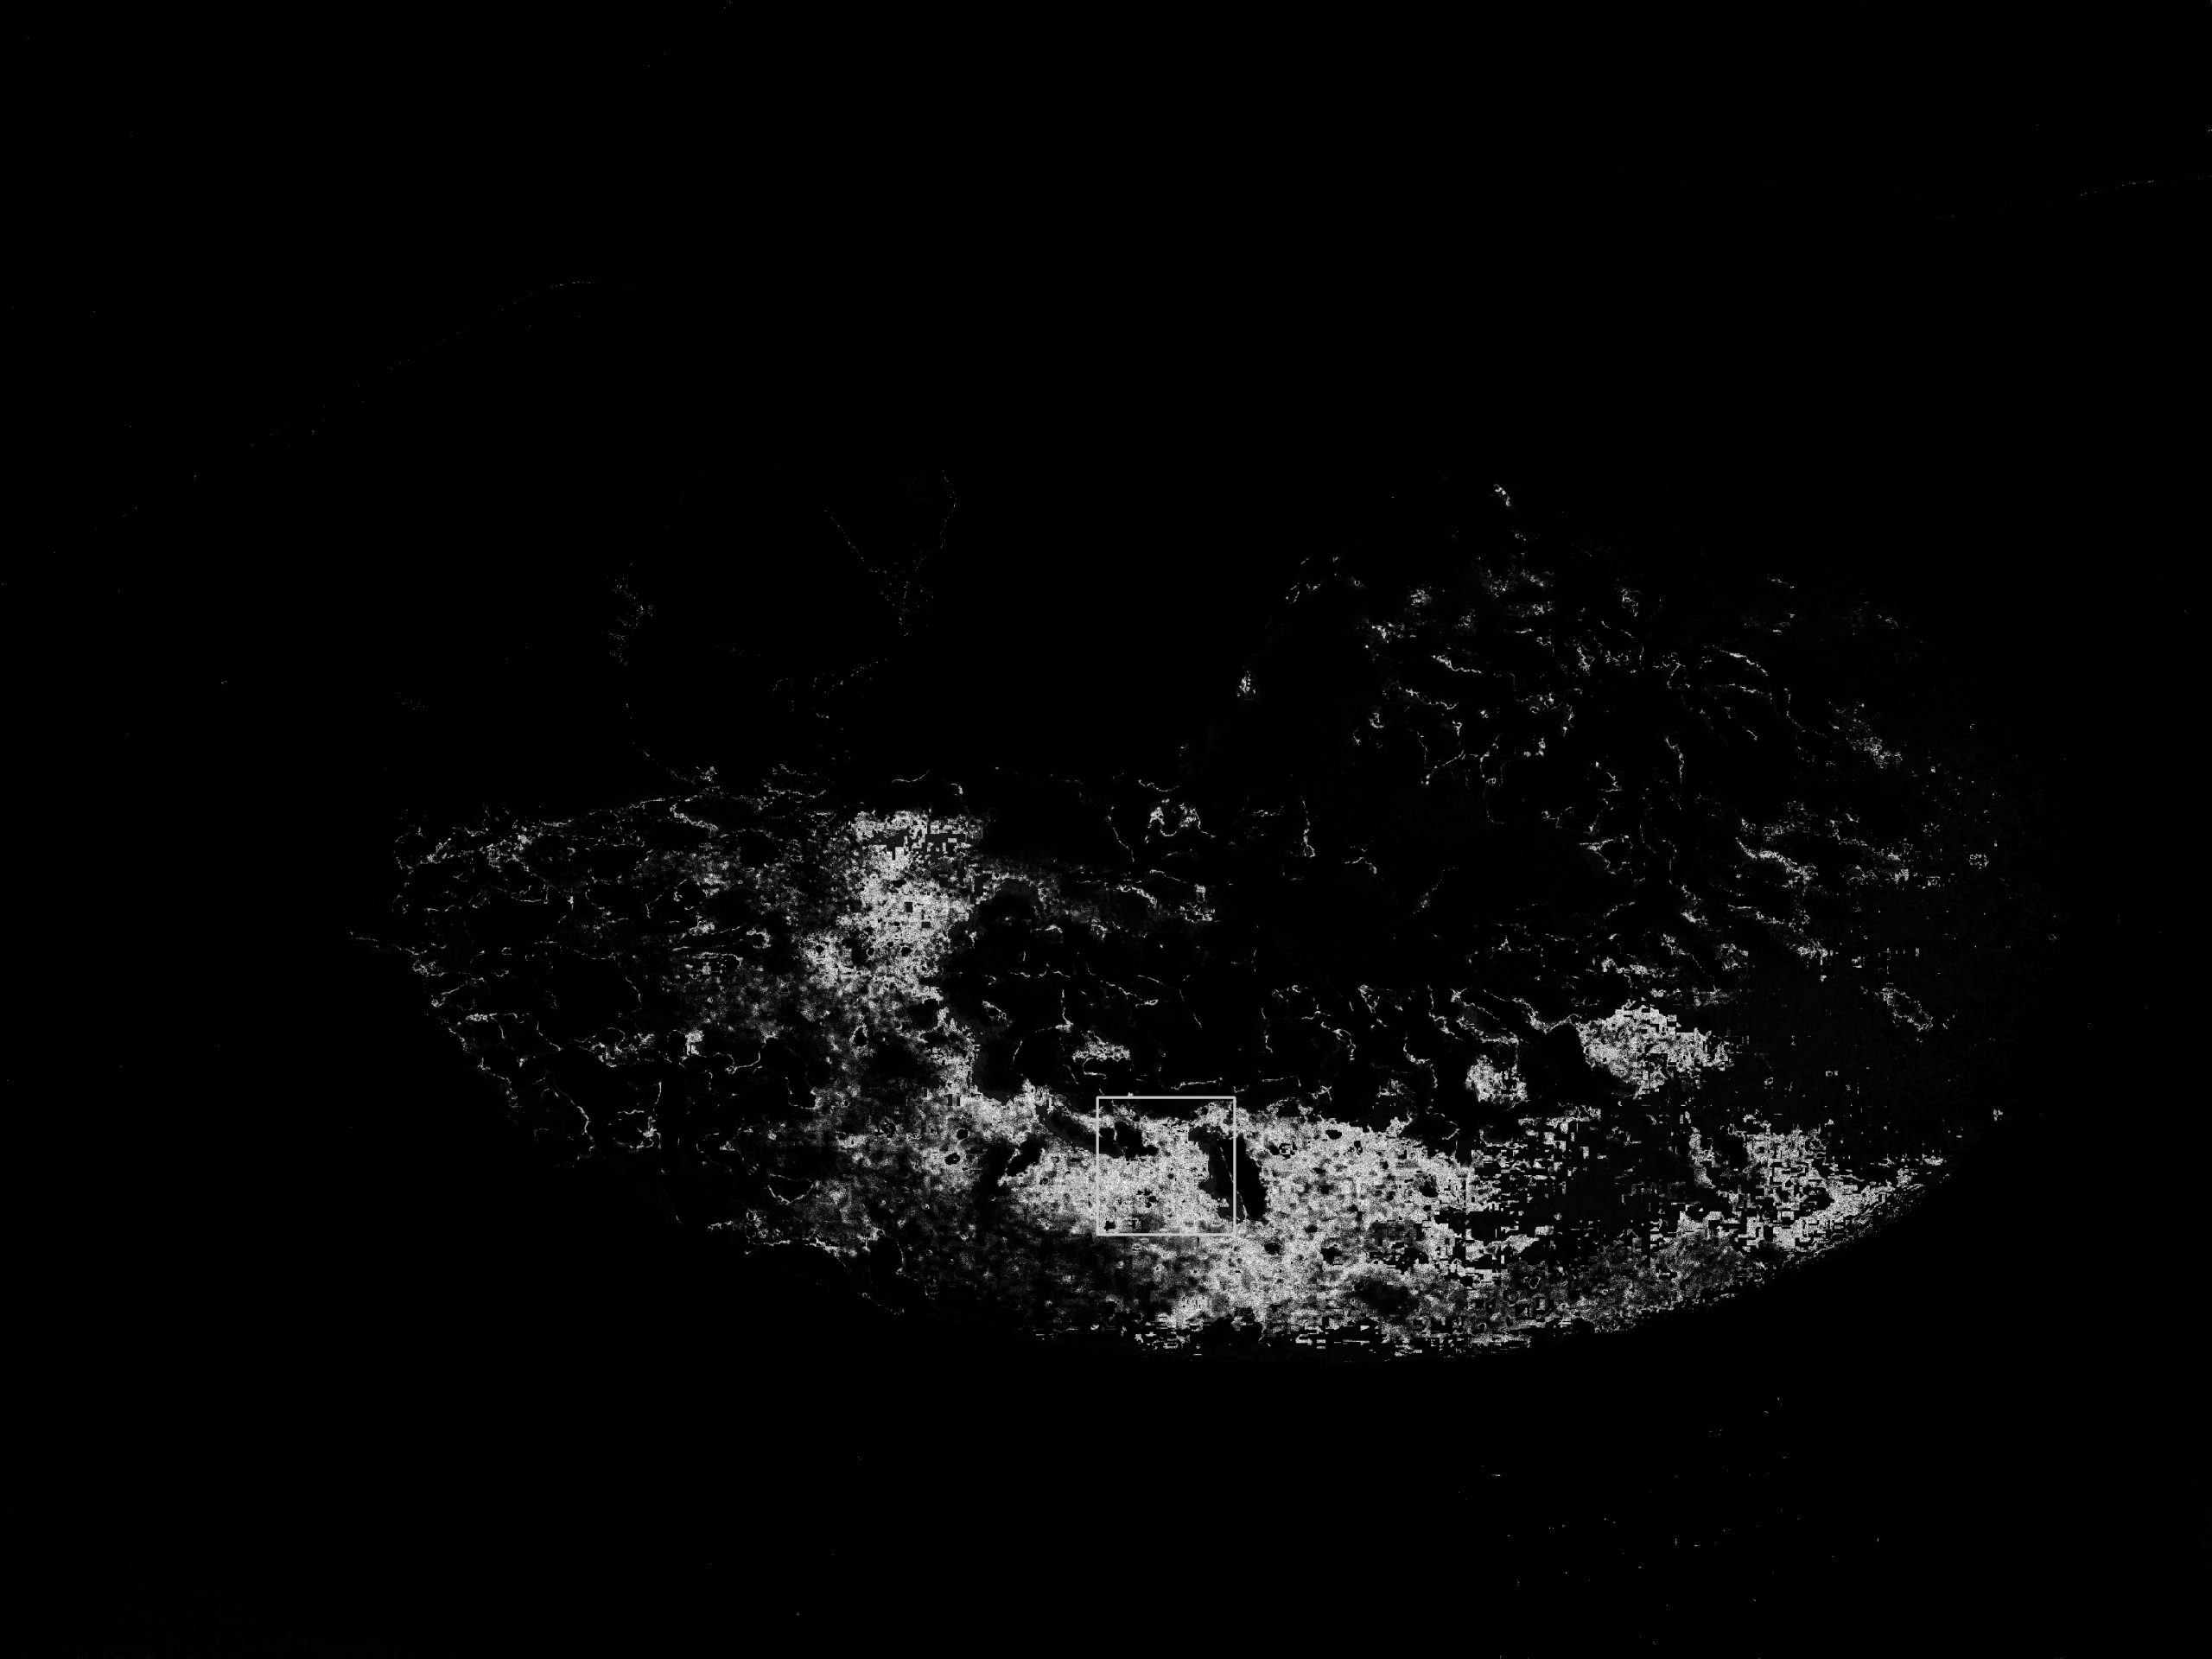
cv2.imshow("5", dst)
6.しきい値とマスク処理
# threshold and binary AND
ret, thresh = cv2.threshold(dst, 255, 255, 255)
thresh = cv2.merge((thresh, thresh, thresh))
res = cv2.bitwise_and(img, thresh)
cv2.imshow("6", res)
同様の処理でライスも抽出します。
カレーライスの画像からカレーとライスを抽出できました。